


Click to view a full size picture (opens in a new tab)

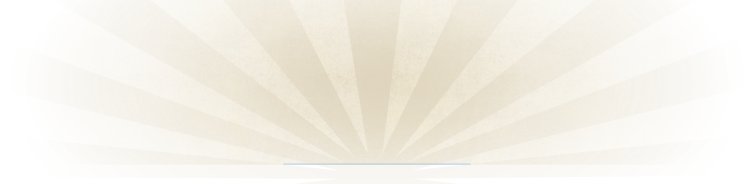
This machine didn’t work. There is a rubber belt which drives the print head. It was totally gone and had to be replaced. The type and size of the belt does not seem to be very critical.
A worse part in the repair was the print head. The head consists of seven electromagnetic drivers. Each driver moves a thin steel wire inside a small flexible tube forward when it needs to print a dot. At the end of the seven wires they are vertically aligned in a small plastic block.
After years not being used, dried ink blocked movement of the wires inside there tubes. With alcohol, some moderate heat, some moderate force on the wires and a lot of patience they finally started moving. Ink ribbons are not widely available. I found a Dutch supplier who delivers worldwide and has a very wide collection of ribbons and other calculator and typewriter related supplies. See Links.
Now, about a year later, the print head still functions flawlessly.
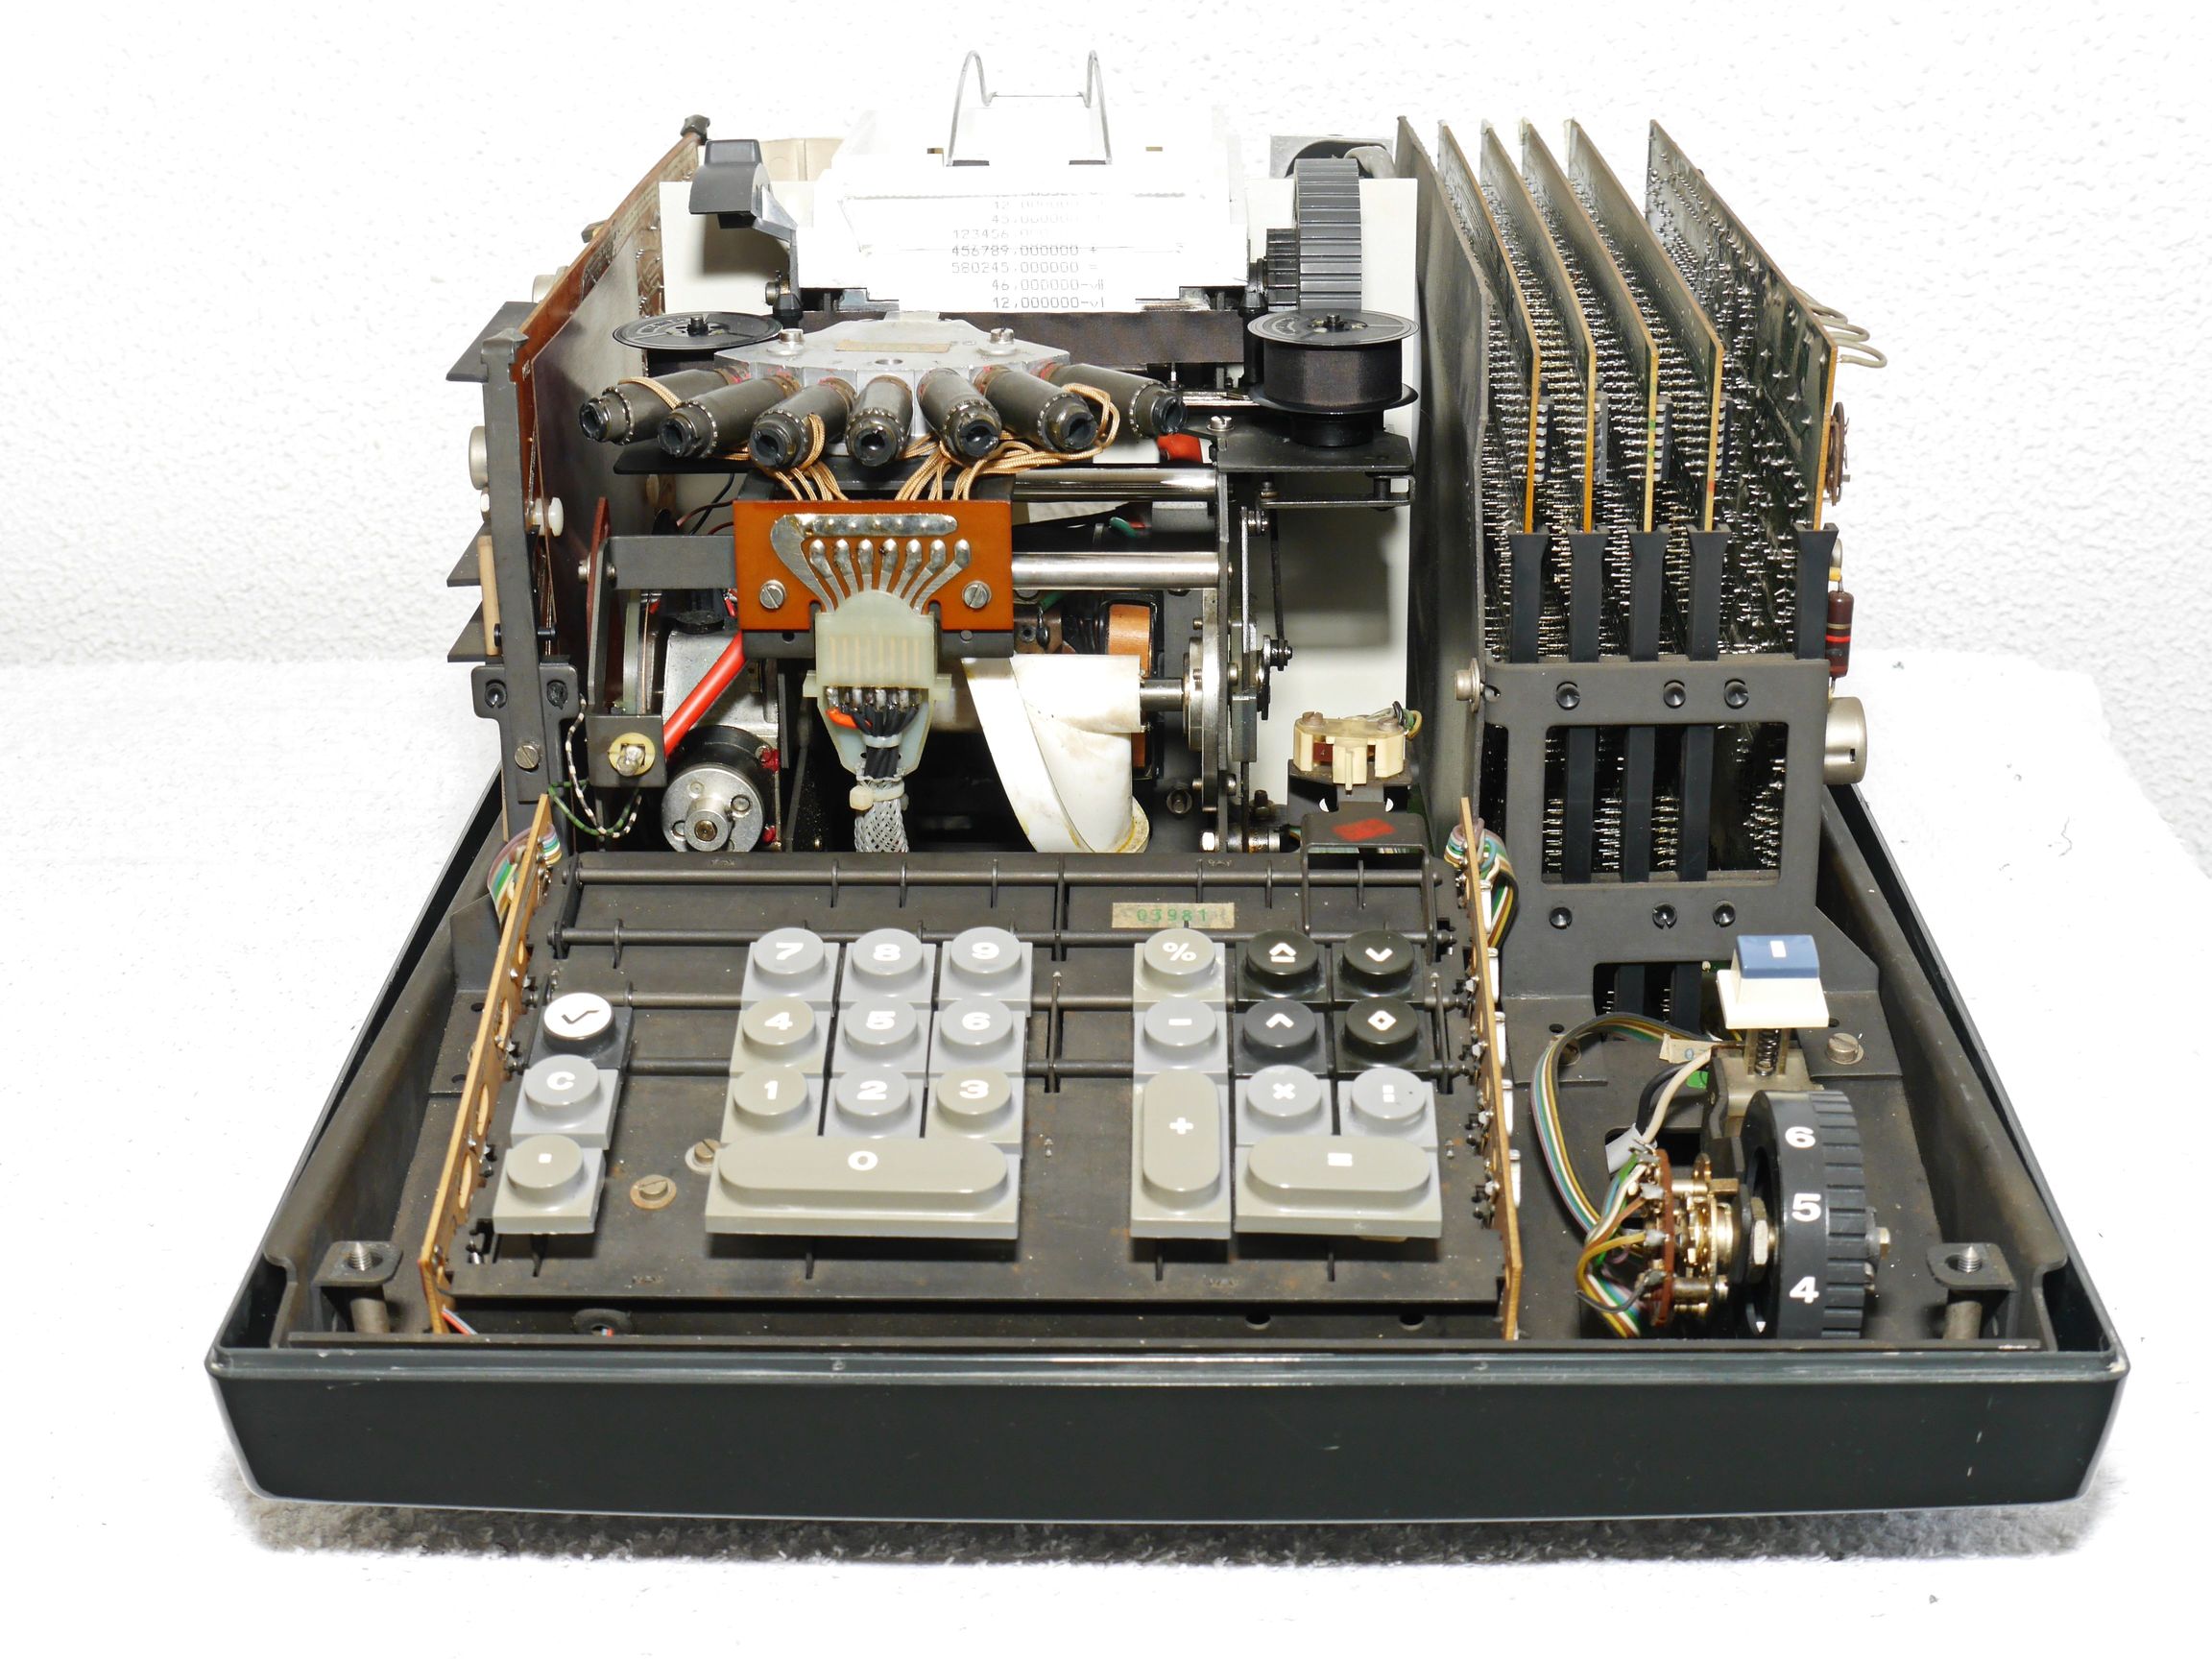
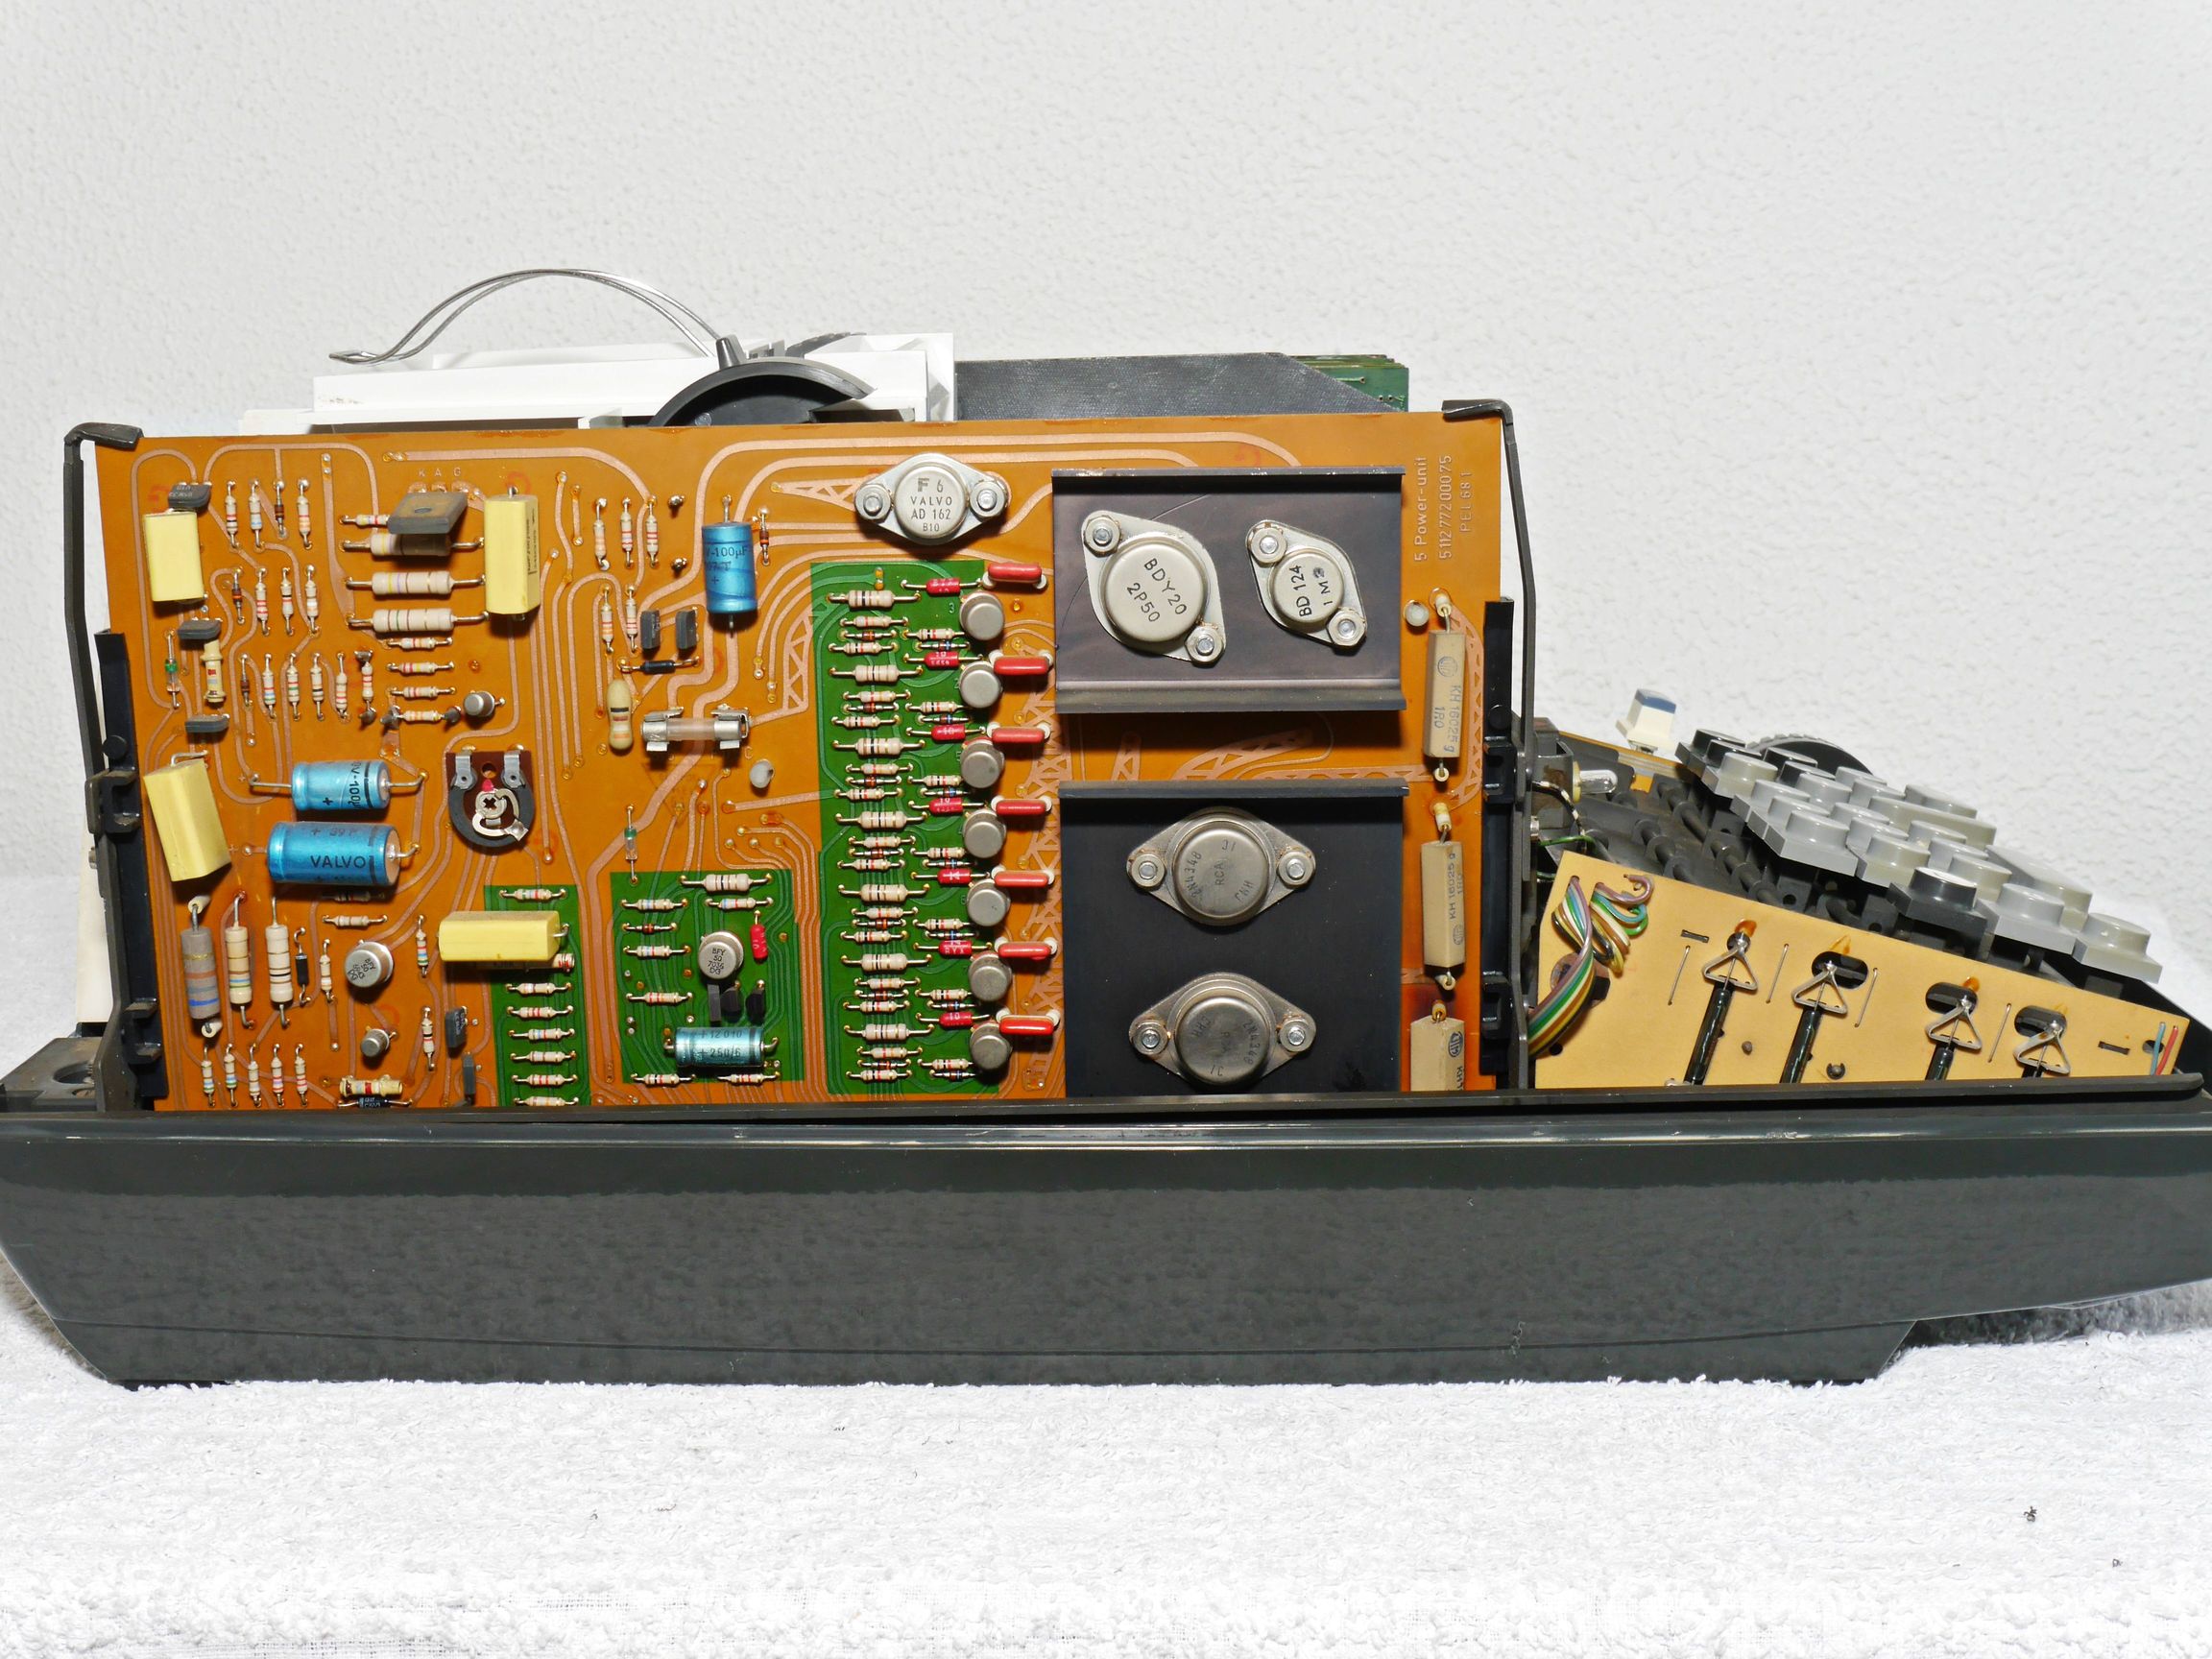
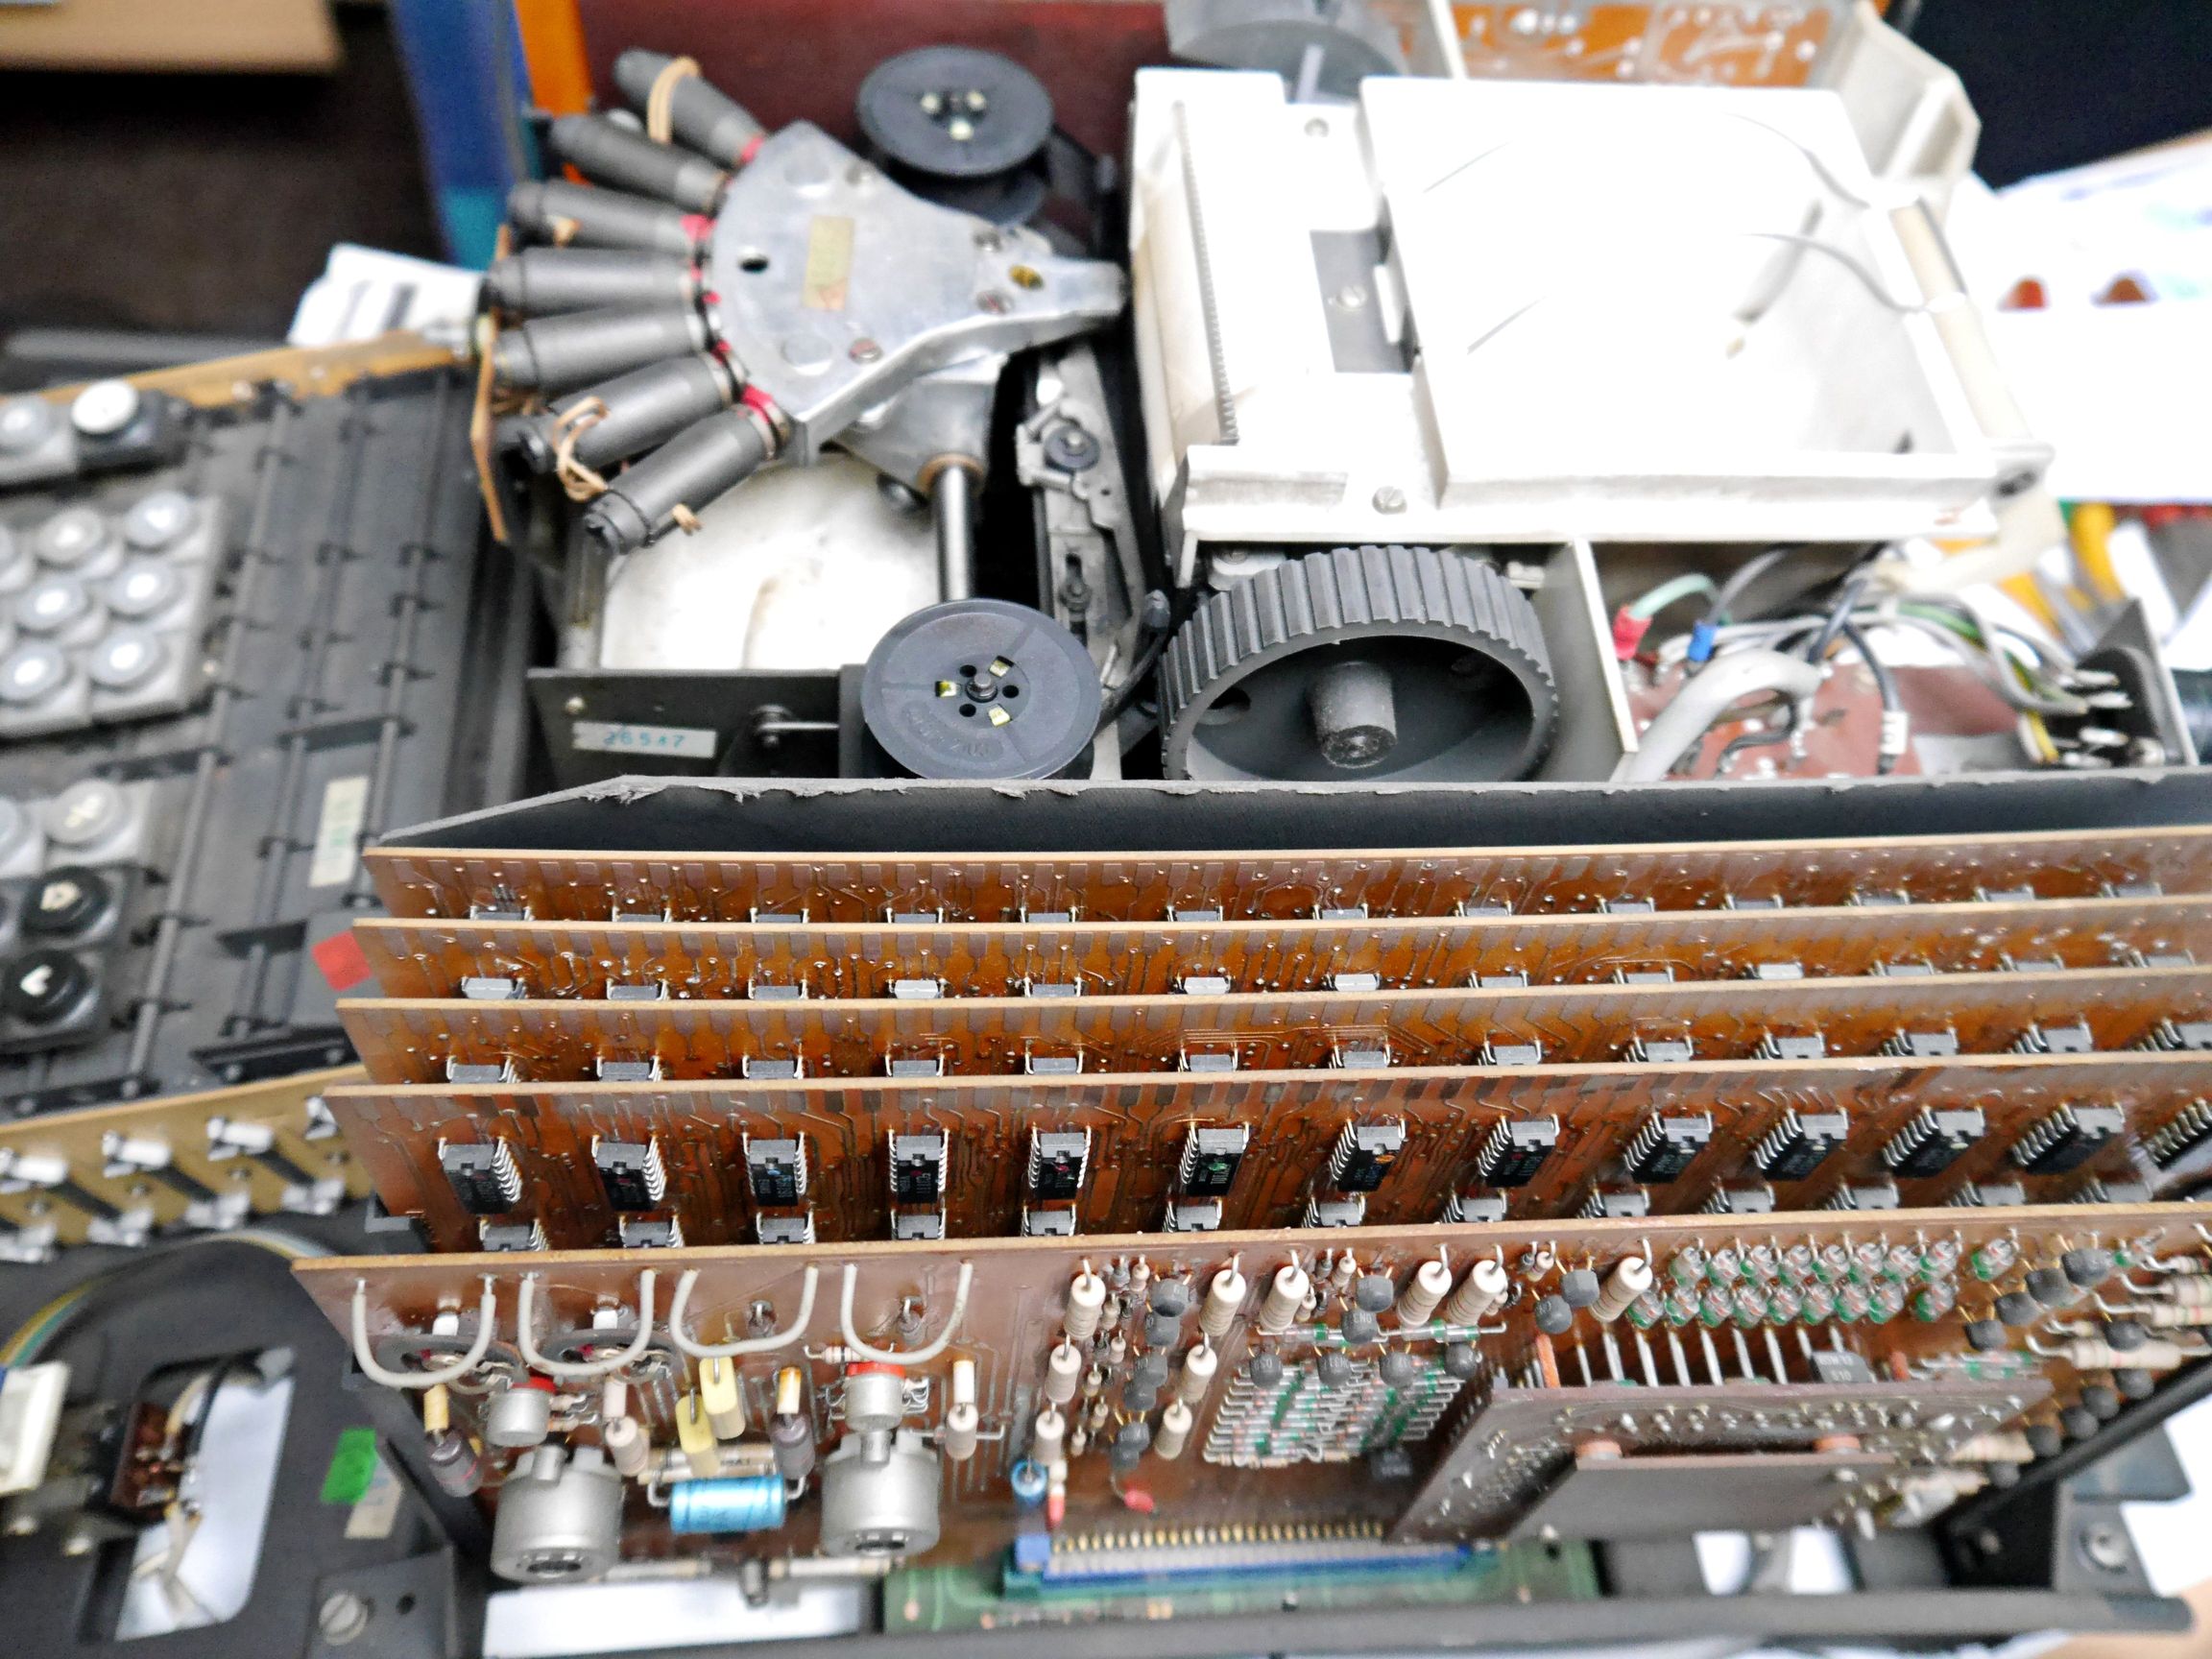
There are six large PCB’s. Four are packed with a total of more then 200 IC’s, each IC containing a bit of logic. The other PCB’s include some power electronics to drive the print head. It all still works fine. So does the core memory.
Below is a close-up of the print synchronisation wheel. It shows some but not all detail.
The P252 is the most capable calculator of the 249/250/251/252 series. Internally the P252 looks very similar to the P249 of which a lot of information can be found at http://www.calcuseum.com/ Data sheets of the early IC’s used, can also still be found on the internet.
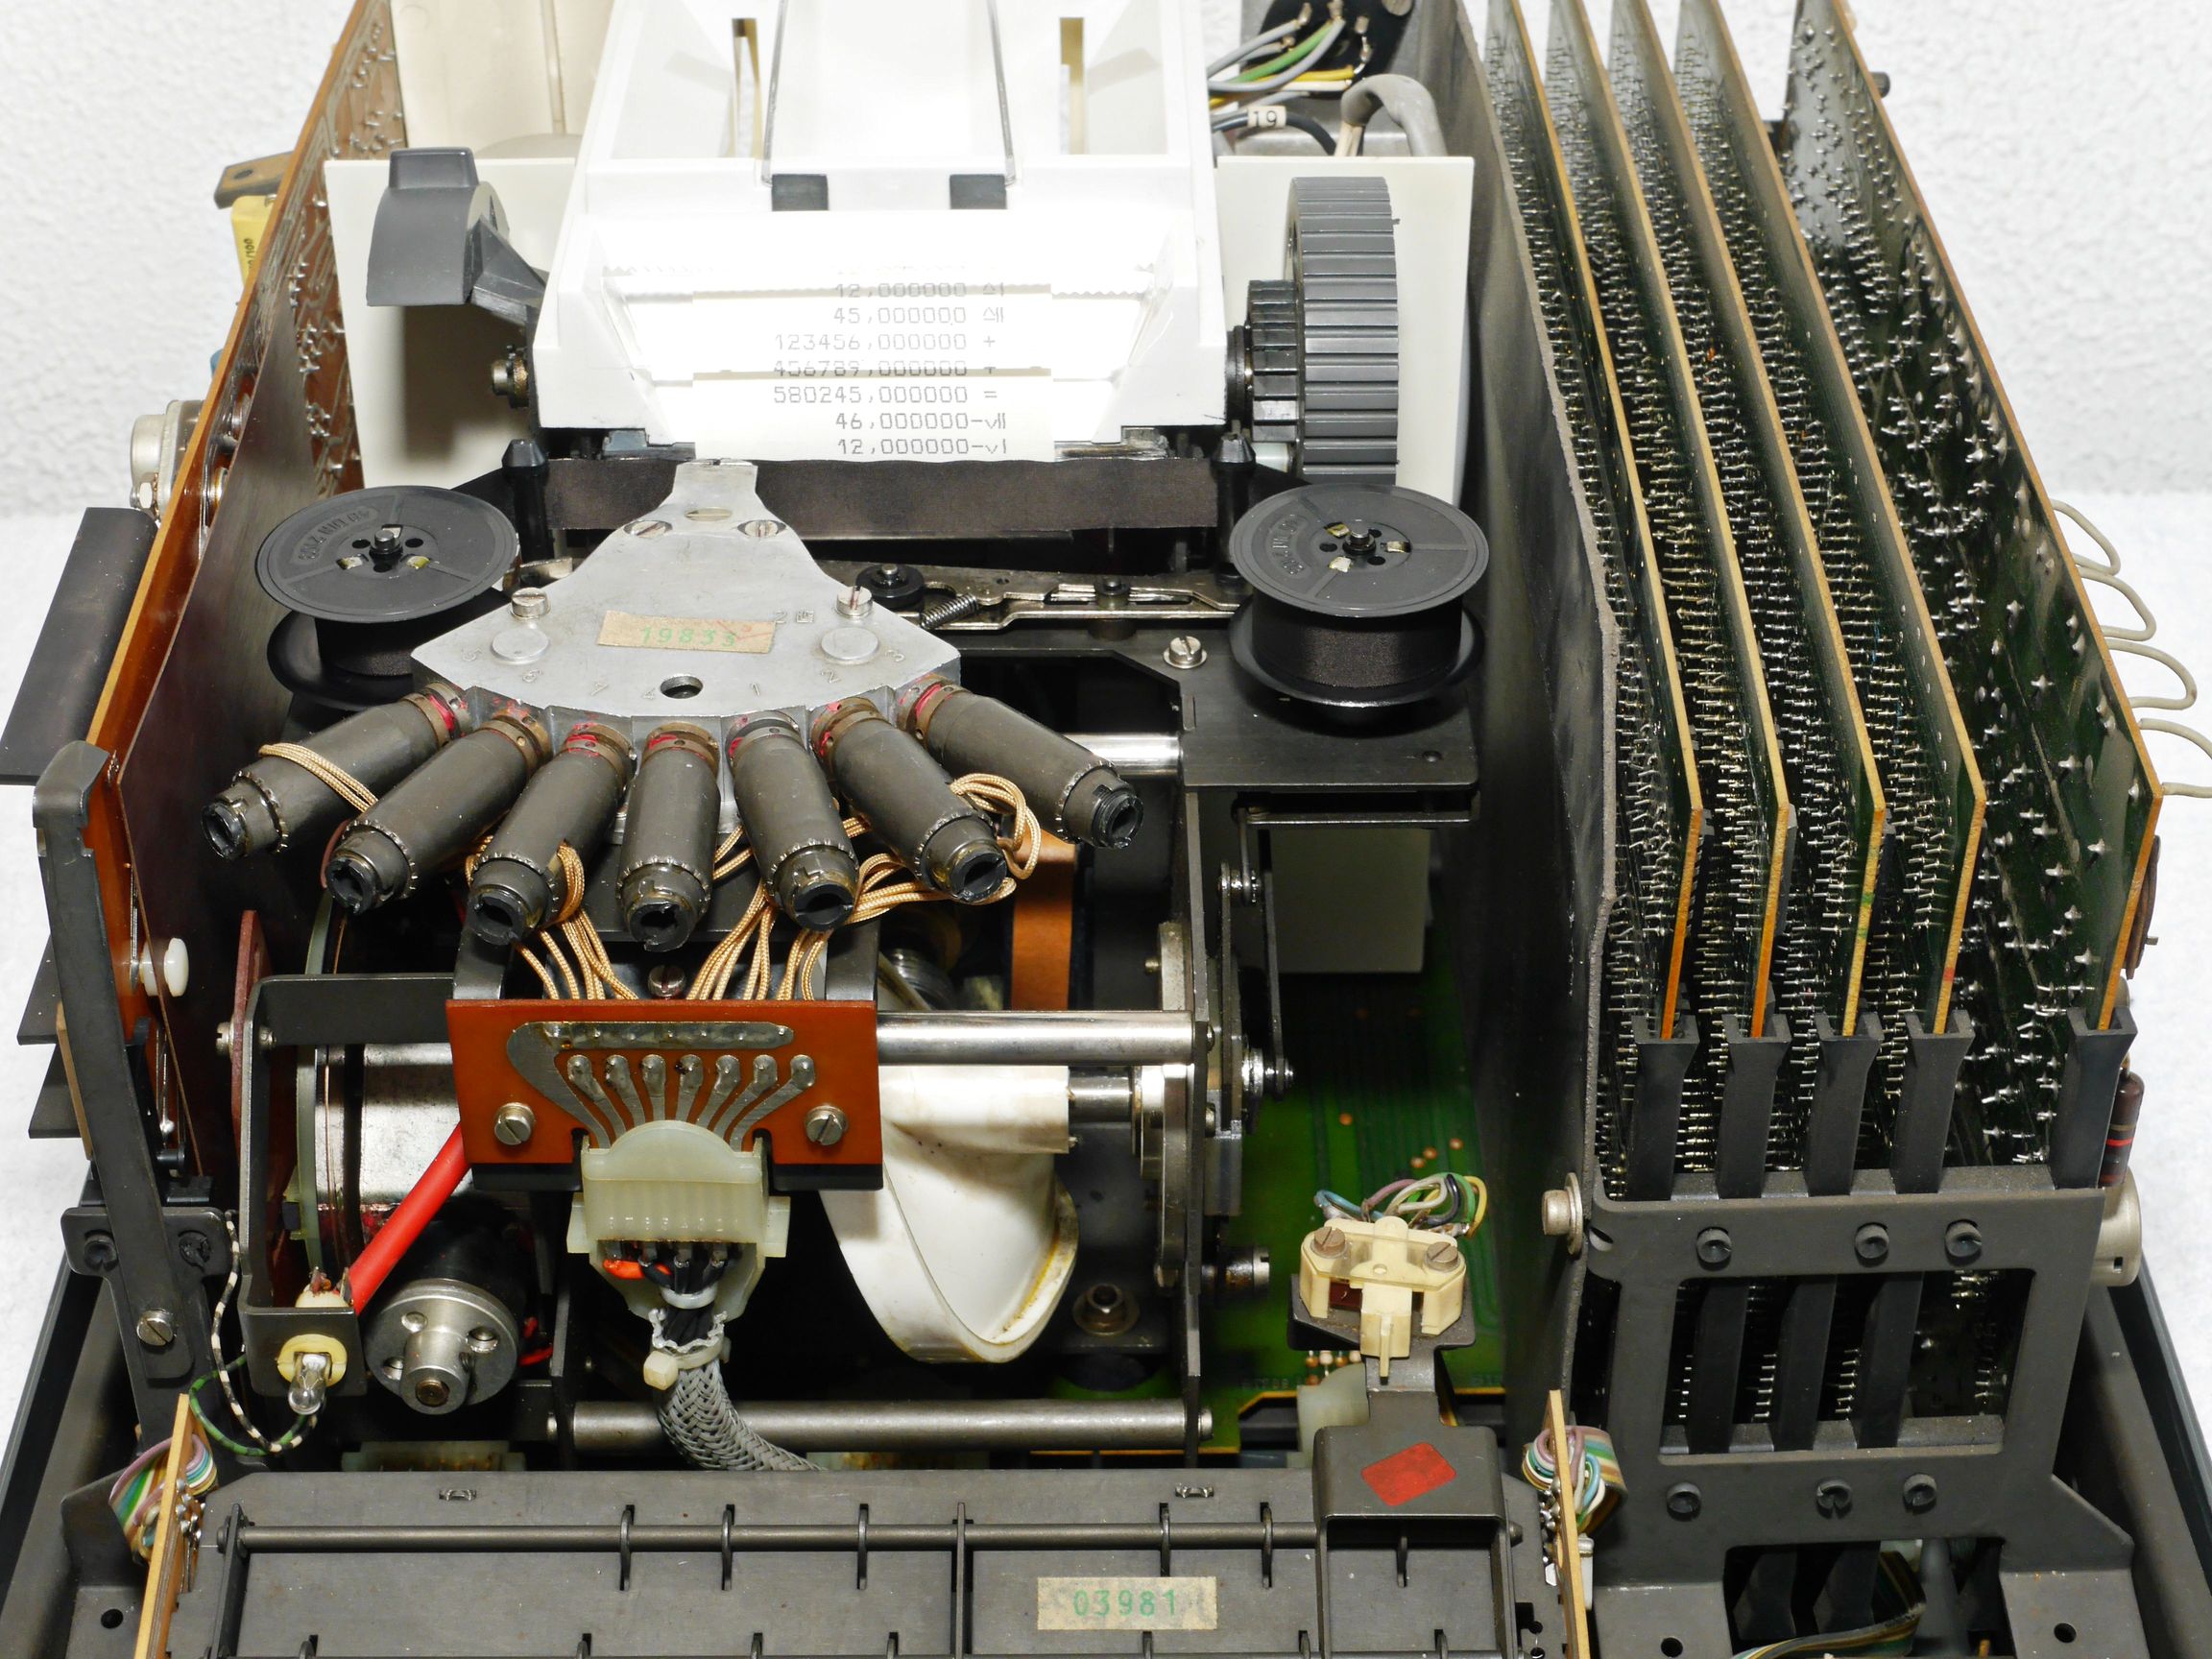
The print synchronsation
Wheel (source: Calcuseum.com)
.jpg)
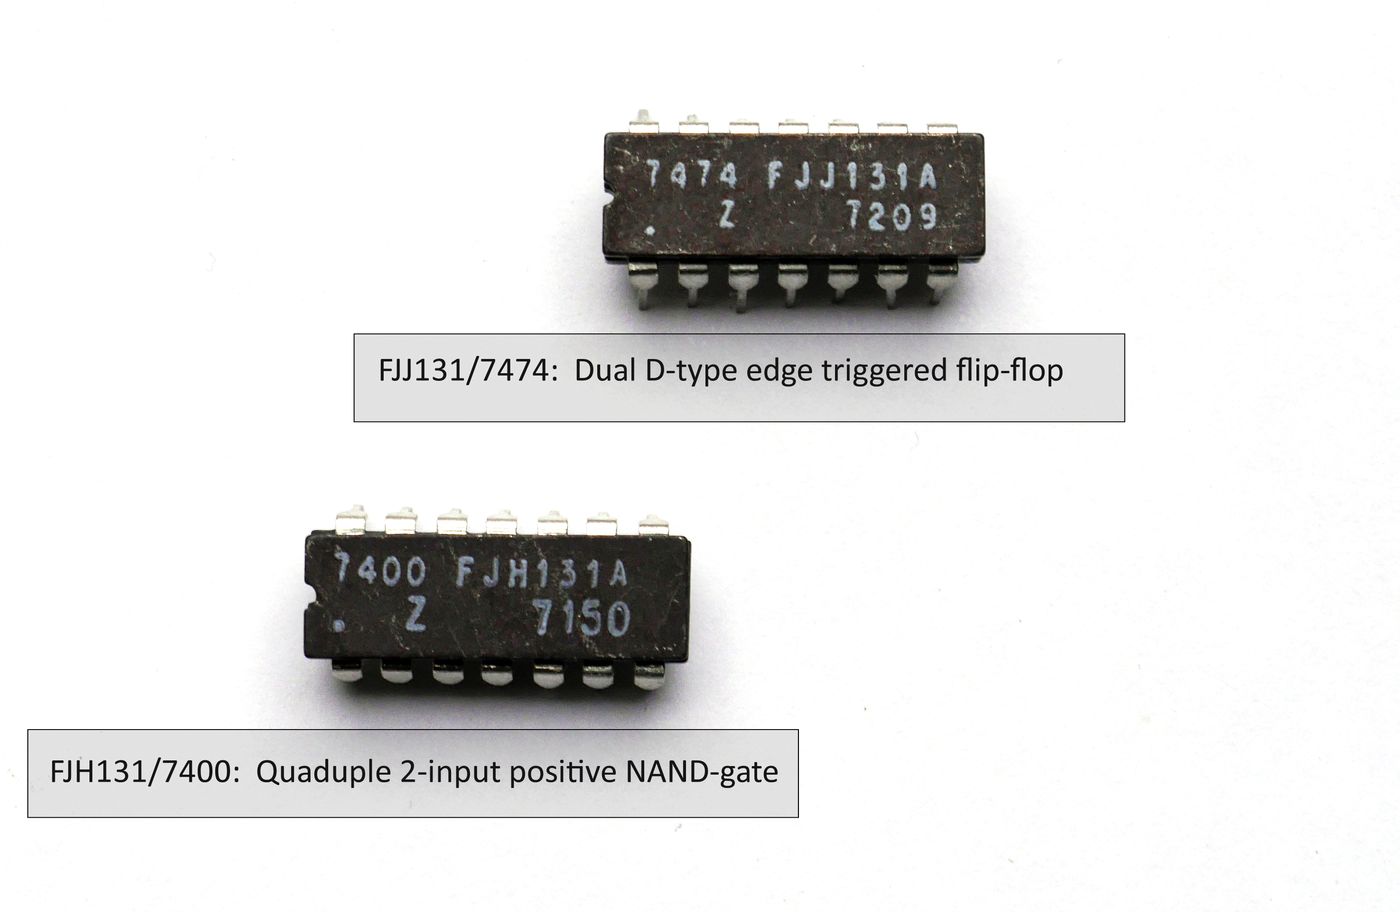
The kind of early IC’s used
(own collection)

The print head
PCB with core memory
4 TTL logic PCB’s
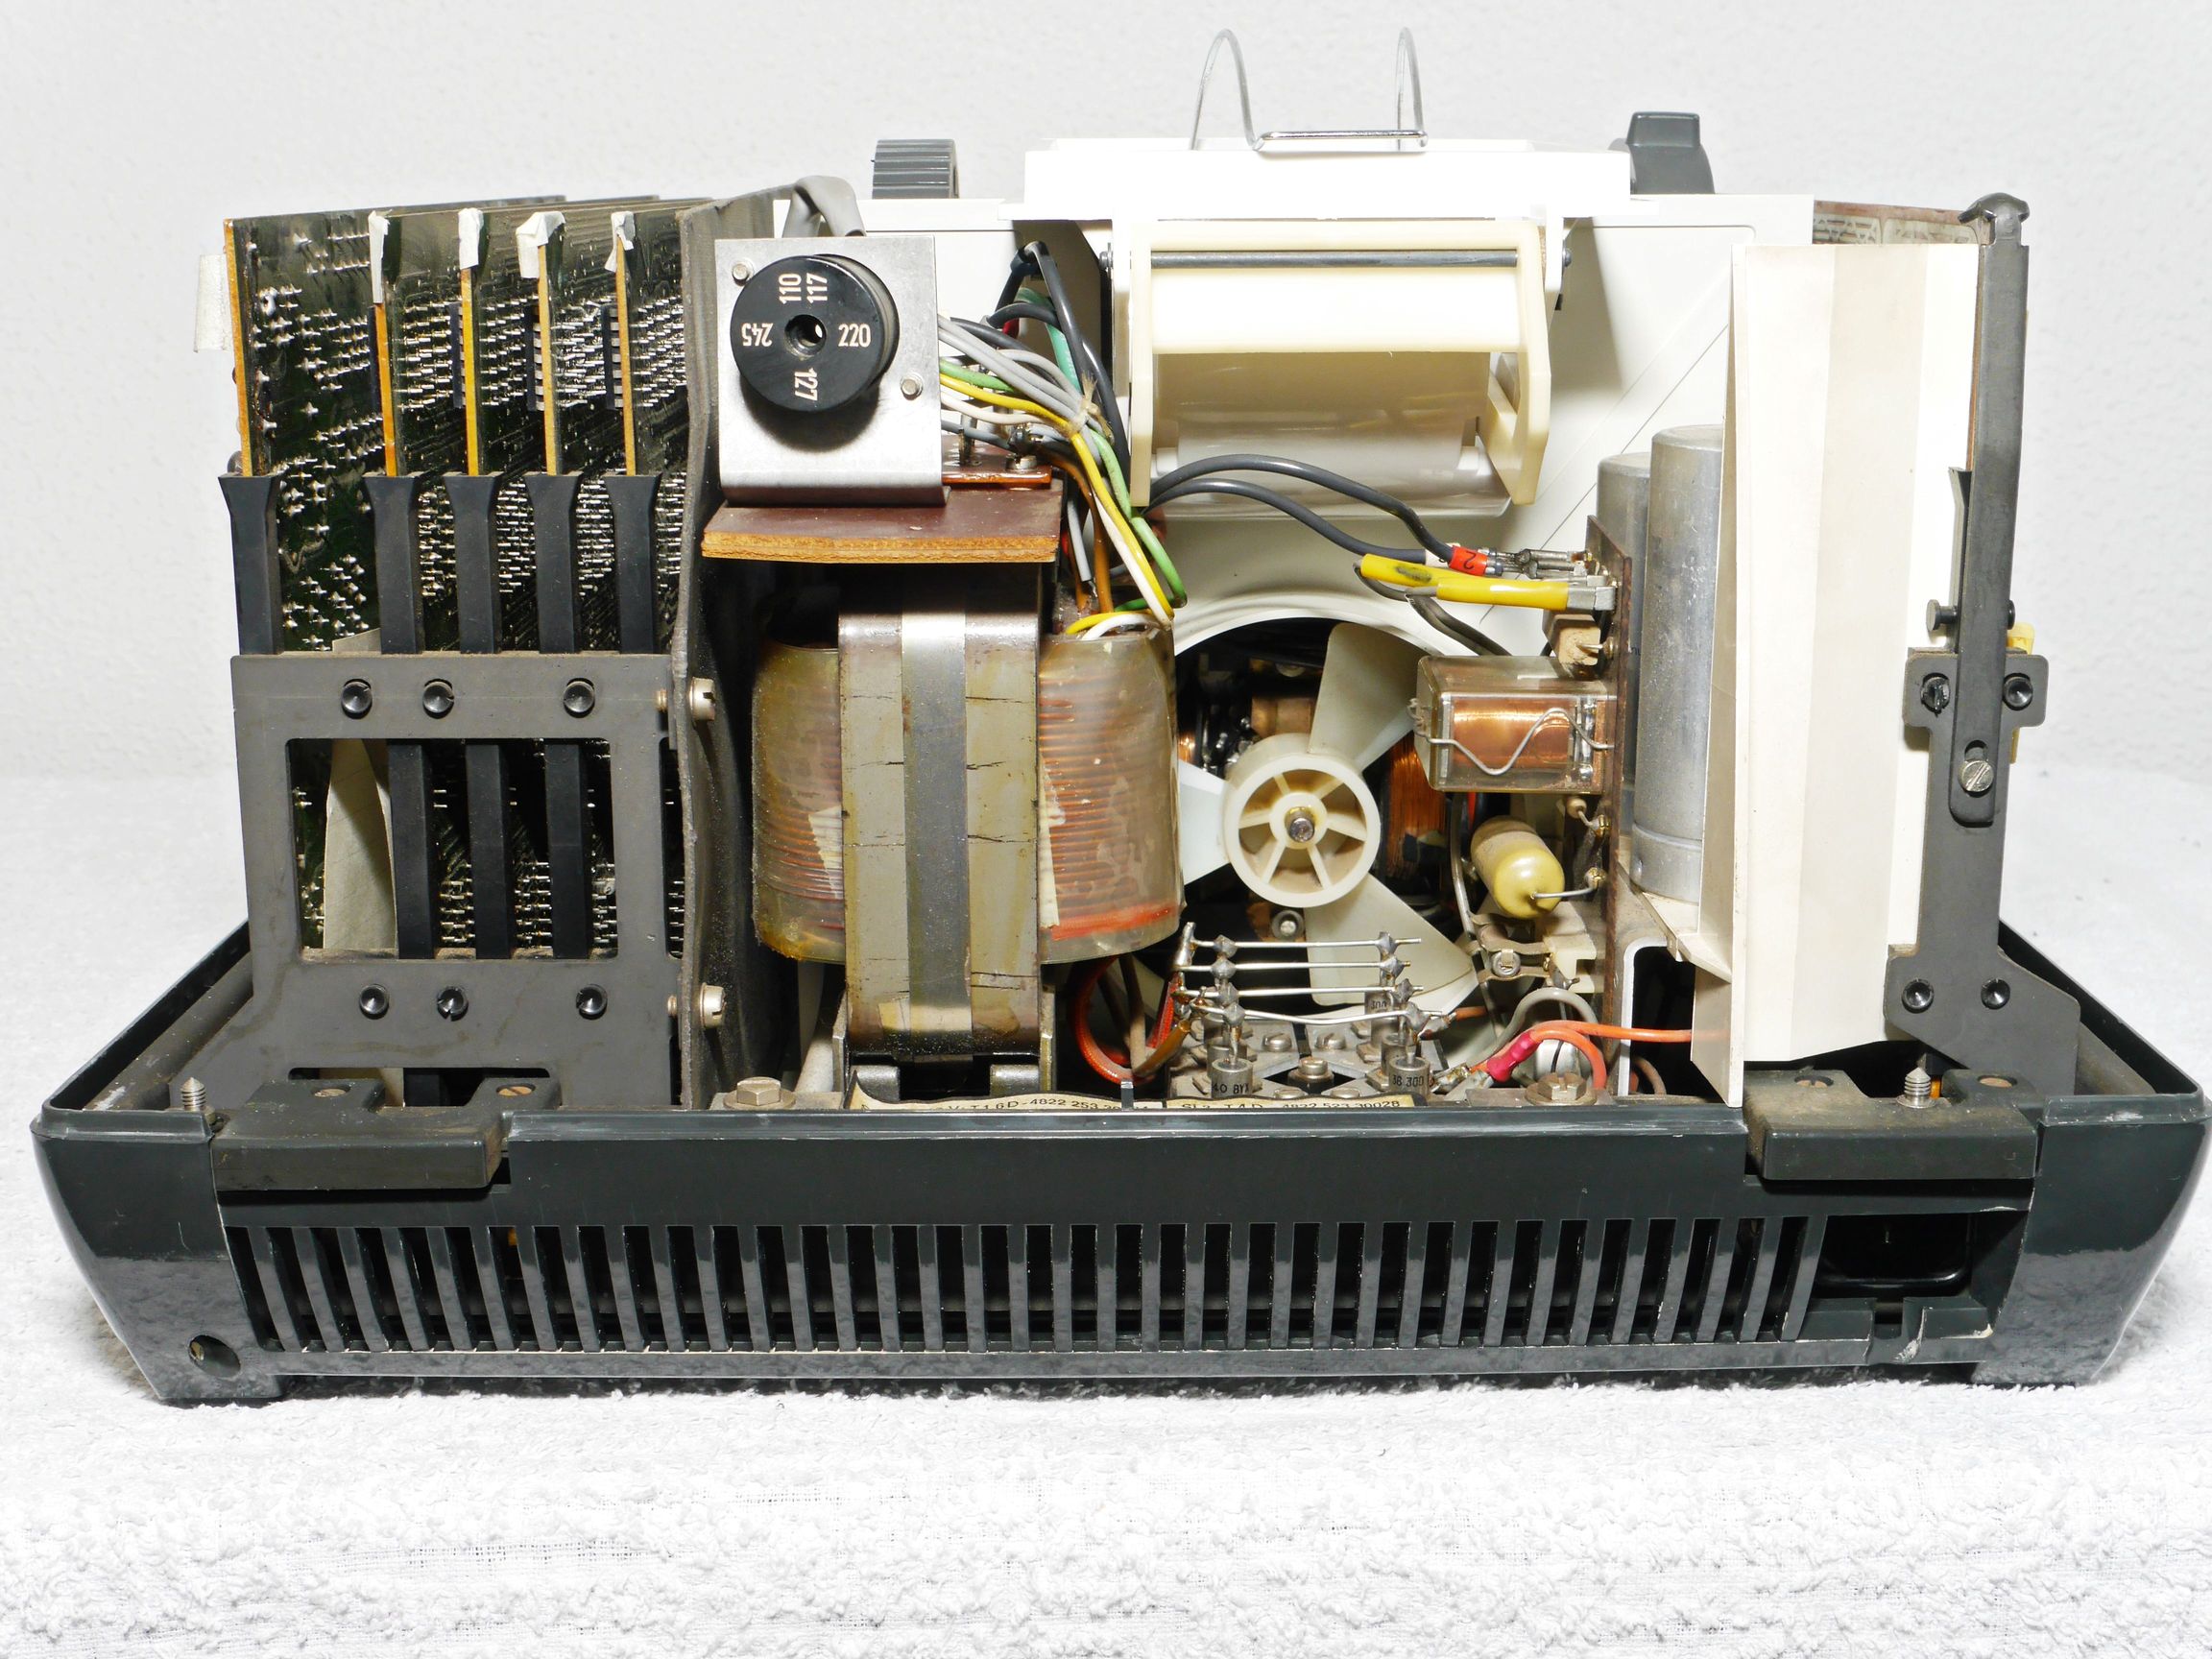
PCB with power electronics
Power unit
| Mechanical Calculators |
| Electronic Calculators |
| Typewriters |